Steps to setup Embedded Services (Formerly Snap-ins)for Web
Embedded
Service uses live agent deployment where you can easily configure and add the
embedded code snippet to your website page wherever you want the chat snap-in
to be available. This will have pre-designed preheat and chat widget , no need
to write lines of code to get this ready, this is just point and click
configuration .Below is the step by step process to configure embedded services
in salesforce. Most important thing is that snap-ins setup is only available in
lightning.
Prerequisites
to Use Embedded Services (Formerly Snap-ins):
1. LEX must
be enable to setup Embedded Services
2. Service
cloud license
3. Chat
agent license
4. Chat
agent must be enabled
5. Create
Chat button, deployment
6.
Salesforce community OR force.com site must be configure in your org before
proceed
Create
Embedded Service Deployment: As a first
step we need to create Embedded Service Deployment. Below is the path.
Setup --> Feature Settings --> Service --> Embedded Service (Formerly Snap-ins)
Here
Embedded Services uses a Salesforce Community or Salesforce site as end point.

After
creating Embedded Service Deployment you need to configure Chat Settings as new
Step.
Configure Chat
Settings for Your Embedded service Deployment:
As mentioned
starting of the post chat widget uses a Live Agent deployment and button so
customers can chat with your agents. Chat Agent details that you provide are
used to generate the embedded code snippet where you can add to your web-page
to initiate chat. Before setting Chat settings for your embedded Service, make
sure to create chat button and chat deployment.


Chat Deployment: Select the respective chat deployment that you wanted to add
from drop down
Chat Button: Select the Chat button that you want to add to embedded
deployment.
Show position will help the customer to know the no of chats in queue before
you.
Customize
your Pre-Chat From:
>> In
the Snap-ins configuration page, make the Pre-chat page Active.
>>
Click edit from pre-chat settings and select Service from the screen
>> The
below is the place where you can set record type for cases and contacts
>> All the cases and Contacts created
through this channel will have respective record type what we have selected in
the below page
>>
Click next from here, it will take you to the pre-chat fields customization
page. Here Name is mandatory field and you can’t remove this field
>>
From the below screen you can customize fields (add, remove, make required)

>>
Here I have added only Name, Email and Subject as my pre-chat fields
>>
After you are done with your changes click save to commit.
Offline Settings:
Offline chat
will allow the customers to create case with support when no agents are
available. Most of the businesses want to make their customers feel valuable,
means by giving their customers an offline chat button when their agents are
away.
>>
Activate Offline Settings for your embedded chat
>>
Click Edit from Offline stings section to set Case record type and offline
fields.

Customize
Additional Branding:

>>
Load your images in salesforce static resource
>> Get
the url and update image in respective sections
>> You
can also adjust you image height, width and base font size
Customize
Lightning Components Section:
>> Use
Lightning Web Components to customize your embedded service window.
>> You
can replace standard components with custom build components
>> Below are the three components where
you can customize
Pre-chat
component: Before you start your chat. It’s used to collect visitor details and
the issue.
Minimized
components : While the chat window in hidden or minimized
Chat
Messages (Text): How your message to be appeared on chat window, it will manage
the styles of chat text.
Customize
brandings:
>> Customize
look and feel of your embedded services according to your company brand
>>
Update colors and fonts that are used in your embedded services to reflect you
company brand

>> You
are done with embedded services configuration.
>>
Click get code from Embedded Services Deployment settings section
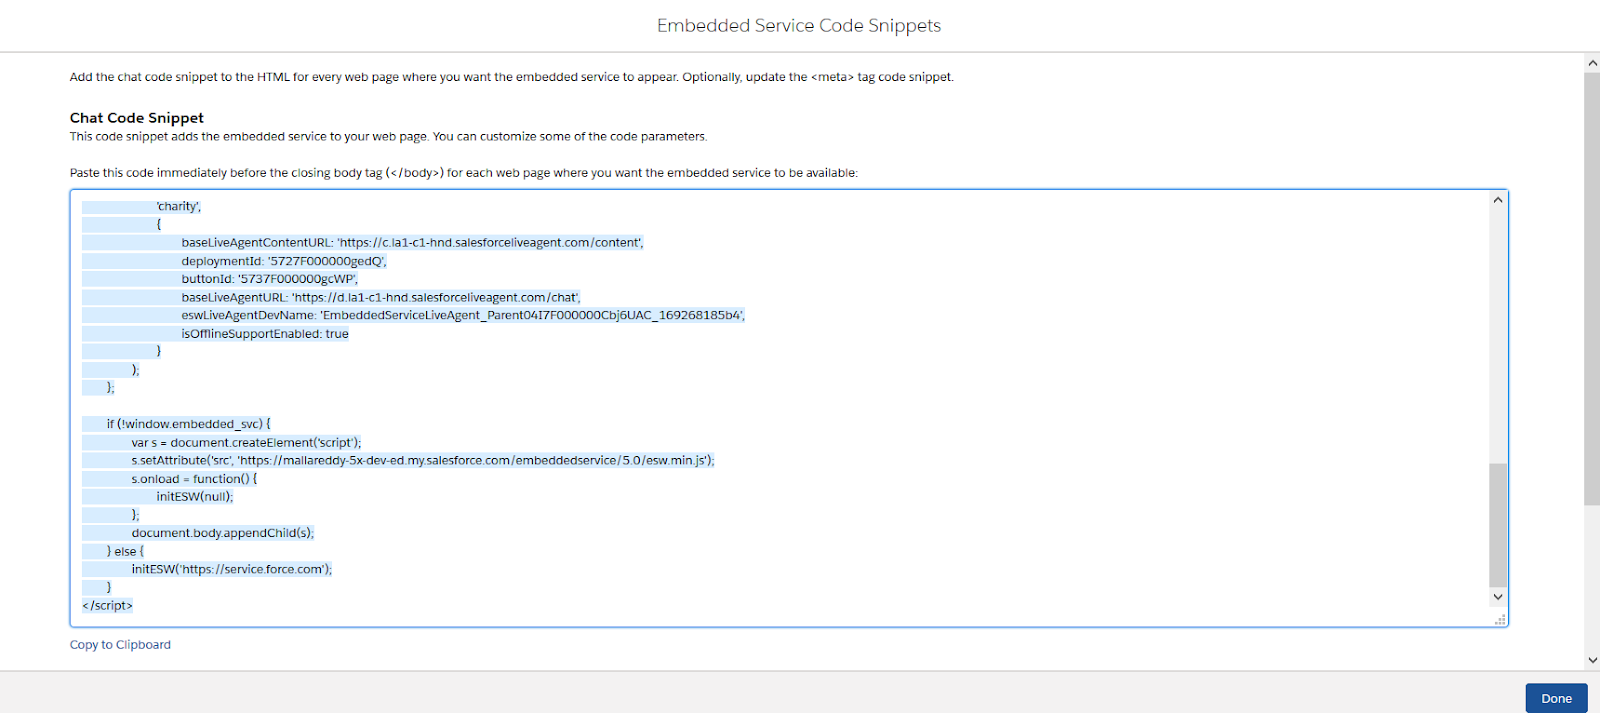
>> Let’s
copy the embedded services code snippet and add embedded code in your web page
wherever you want the chat page to appear.
>> For
testing perspective create a visual force page or add this to your community to
check the look and feel of the embedded services
>> If
you’re testing your embedded service with community, make sure add salesforce
chat agent end point to your community
>>
Make sure to have service console with chat agent ready to test your first Web
chat.
How to Test
your embedded Chat Experience:
>>
Navigate to service console and make yourself online to accept the chat
>> In
another window open your community page and initiate new chat

>>
Check the fields that you have added to your pre-chat form is appearing in the
same org or not
>>
Also check the Branding colors on the chat page
>>
Fill the pre-chat details and trigger the chat
>>
Navigate to your service console and accept the chat
>> Your chat widget looks like below. I am
using bot along with this, because of this reason you are seeing auto greetings
and buttons in widget, don’t be confused with this.
That’s all
about Embedded Services 😄😄.
I will be
back with Einstein Bots in my next post.


0 Comments